-
Book Review: Craft Coffee – A Manual

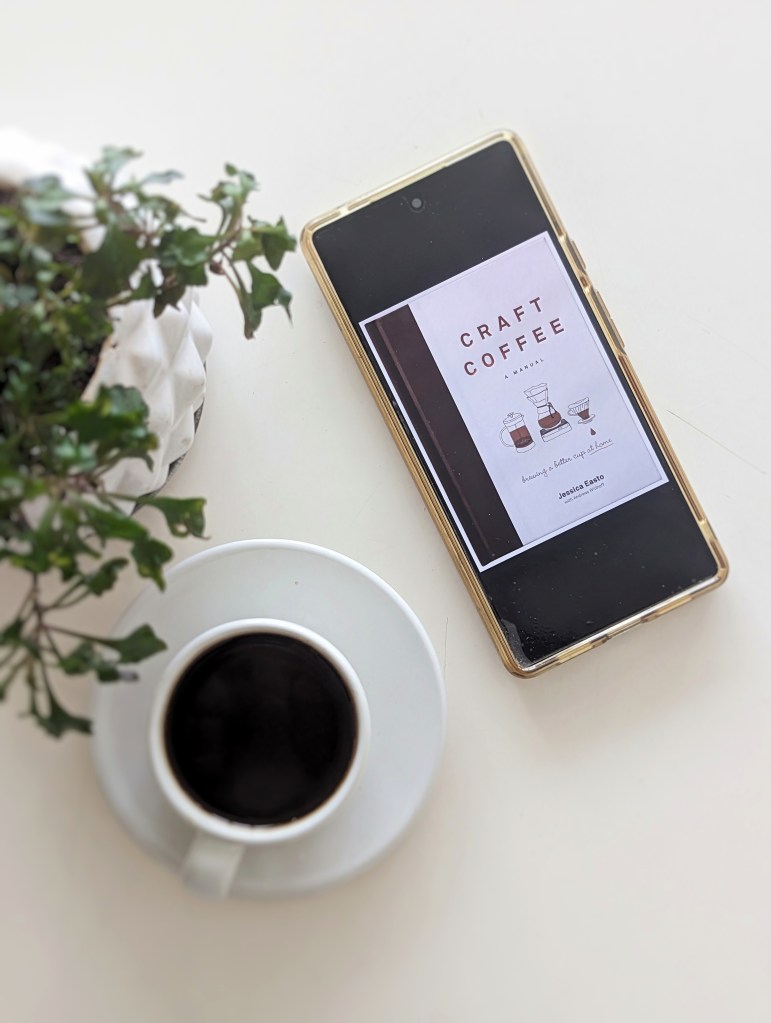
Craft Coffee – A Manual by Jessica Easto and Andreas Willhoff. This book is for someone who falls in love with quality coffee and gets serious about learning the “craft” of brewing delicious coffee at home.
As a home brewer, who geeked about coffee for 2-3 years, I loved the book. It covers all essential topics around brewing at home – basic parameters, choosing coffee / equipments, how to brew. and how to taste (details later). The depth in each topic felt largely balanced – neither too shallow to not feel meaningful, nor too advanced and overwhelming. The focus is on the craft of coffee brewing and not much into non-brewing aspects.
I had purchased a Kindle Version; it did the job. It mostly recommends a practical and flexible approach rather than some idealistic and snobby approach, which I really apreciate. The coffee knowledge comes from a background of Jessica’s home brewing for 8+ years and Andreas’s years of professional experience in the coffee industry. Note that this book is written in American context as the authors are based out of US, however it doesn’t really matter in most topics barring the roasters & cafes mentioned. Also, it doesn’t cover espresso brewing.
The chapters and contents are about –
- ‘Brewing Basics’ covers how multiple parameters impact extraction – strength / yield, brew ratio and dose, grind size, contact time, water, temperature, pour. And that it’s important to tweak parameters as per the coffee you are trying to brew.
- ‘Choosing Hardware’ talks about types of brewers / devices, grinders, scales, kettles, thermometer, servers and some tips and guidance of how to go about choosing them.
- ‘The Coffee’ is more about coffee origins and talks about the bean to cup journey. It talks about the beans, varietals and cultivars, origins, process, roast, decaffeination.
- ‘Buying Coffee’ is about where to buy good coffee from, aspect of seasonality, deciphering a coffee bag and storage of beans.
- ‘The Flavor’ teaches the language of coffee tasting – acidity, sweetness, bitterness, mouthfeel, aroma. It gives a beginner friendly and well structured way to assess coffee.
- ‘Brew Methods’ has one or more recipes to 10 manual brew devices including multiple pour over brewers, AeroPress, French Press, Syphon.
- ‘Troubleshooting, Tips and tricks ‘ talks about what to tweak in case the brew is not tasting right.
In the chapter for ‘The Coffee’, I really hoped to see the mention of Indian coffee. (sniff)
Overall I believe Craft Coffee – A Manual is great for anyone who wants to learn to brew better coffee at home, but may have little or no past knowledge or experience.
If you liked what I write you might want to follow my journey on Instagram @journal_of_a_coffee_enthusiast.

The Book Cover -
Gems of Bangalore: Specialty Coffee Cafes & more
Before brewinging at home, my journey with specialty coffee started with amazing experiences from cafes where baristas use their knowledge, art and craft to deliver the best form of coffee experience. These experiences inspired me to brew quality coffee at home. Cafes also help me explore more coffee beans and brew methods.
I am fortunate to have a number of such cafes in Bangalore, that are unique in their own ways. While I knew about some of them, some new and old ones I simply didn’t know. So I planned to list all that I know of – the ones I have been to and the rest. A directory that I will leverage and others can too. The list may be a bit skewed based on where I live.
This is probably an incomplete list. Please share what I am missing, I will add. I am considering this to be a living list, that I can keep updating.
Be(a)n There
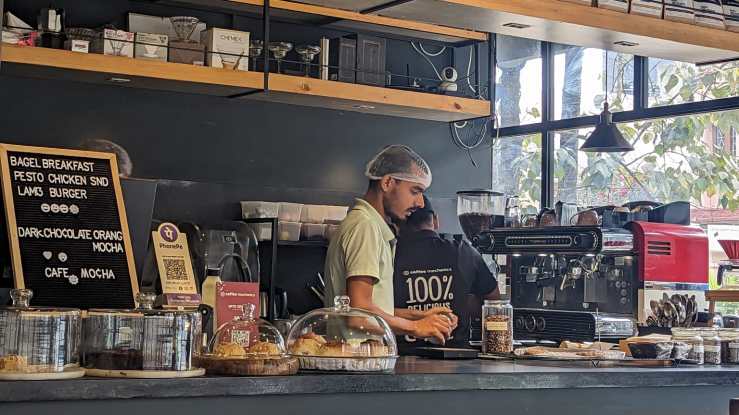
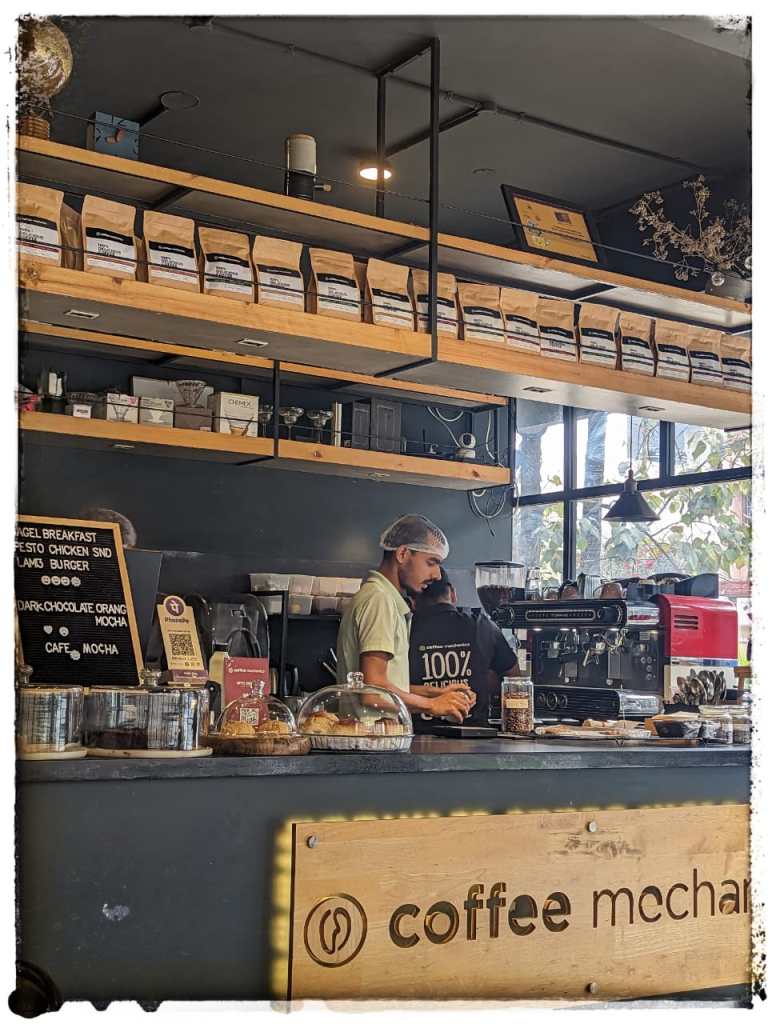
Coffee Mechanics
@coffeemechanics |
Map |
Coffee Mechanics
- My memories. This is my most visited cafe and it has a special place in my heart. I took my wife here for coffee / breakfast dates, as well as the whole family for some dessert and coffee. I enjoyed various types of coffee and food, as well as bought beans from them. It’s a small and cosy cafe, with a solid list of offerings, great service.
- About them. Legacy of 5 generations of coffee producers. They produce, process, roast and brew, as they quote “practically, Farm till the Cup”. In their own words.
- The Coffee. Espresso based & manual brews, hot & cold, quite an interesting range of cold ones.
- The Beans. They offer their own grown, processed and roasted coffee beans! I have enjoyed the Srilakshmi Estate. [Shop online]
Araku Coffee
- My memories. I have been here twice, to learn about coffee – roasting and tasting. Funkily named as “Coffee 101: Snap, Crackle & Pop” and “Coffee 101: Sniff, Slurp & Spit”. These were great sessions held on the upper story of the huge two storied cafe. There is an energetic vibe about the cafe with a lot of hustle bustle. I was fortunate to learn from and interact with Sebastian Rohan who is a Q-grader himself. Tasting delicious coffee and roasting some green beans, which I brewed later at home! Yet to visit to drink and eat.
- About them. The coffee is grown in Araku Valley (Andhra Pradesh). Araku is the first 100% organic single-origin coffee from India whose journey from the coffee plant to bypass the middlemen. Since 2001 they work closely with small farmers to support them with global best practices and support them with a more than fair price. They have a cafe in Paris too. In their own words.
- The Coffee. Espresso based & manual brews.
- Beans & more. They offer their own roasted coffee – 4 usuals and occasional microlots. My favourite is “Micro Climate”. They have their own designed Moka Pot! [Shop online]

Maverick and Farmers
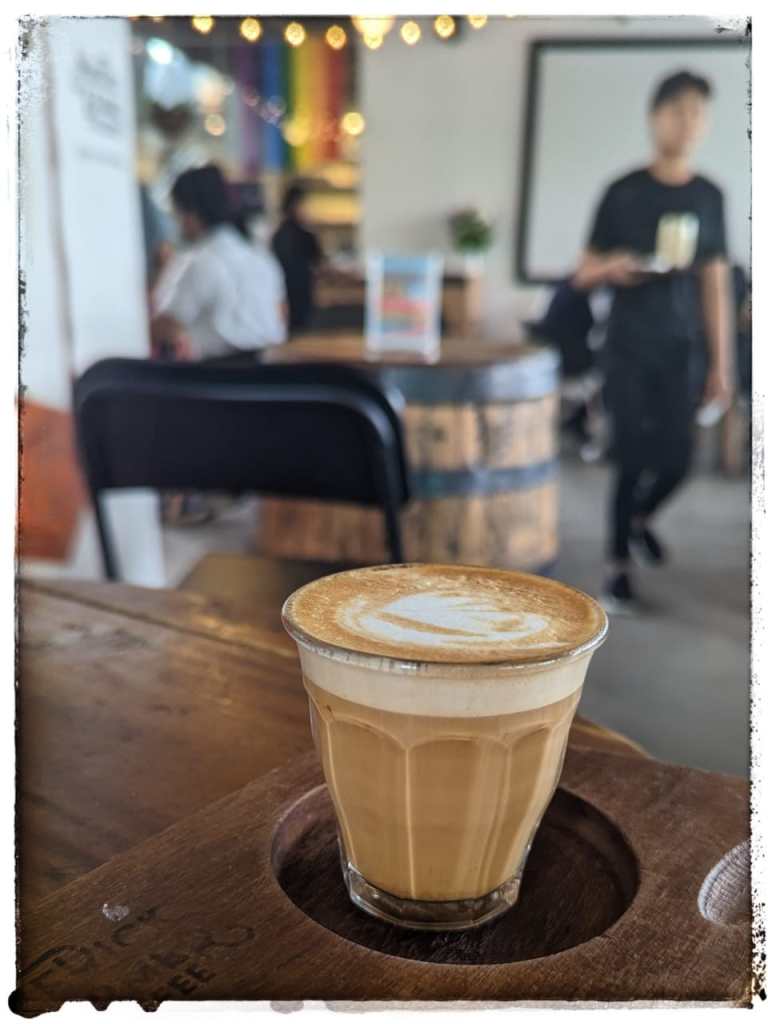
- My memories. After having their coffee for quite some time, I have been wanting to go there (again) for quite some time. The cafe is right next to a football practice ground. It has an open and an inner air conditioned section. A self-service cafe that can get crowded on the weekends, couldn’t order a pour over since the order queue was long. I enjoyed my delicious cortado, then stole a few sips from my wife’s cold brew, while munching over the delicious food.
- About them. Started by the founders of The Flying Squirrel coffee (my erstwhile favourite cafe and roaster), Maverick & Farmer grow, process, roast, and brew their own coffee. They have a few unique processing styles and roasts. [In their own words]
- Beans & more. They offer many varieties of coffee beans – unique processes, and blends. My favourites are Parma and Satva. They also sell drinkware and pour over equipment made of ceramic. [Shop online]
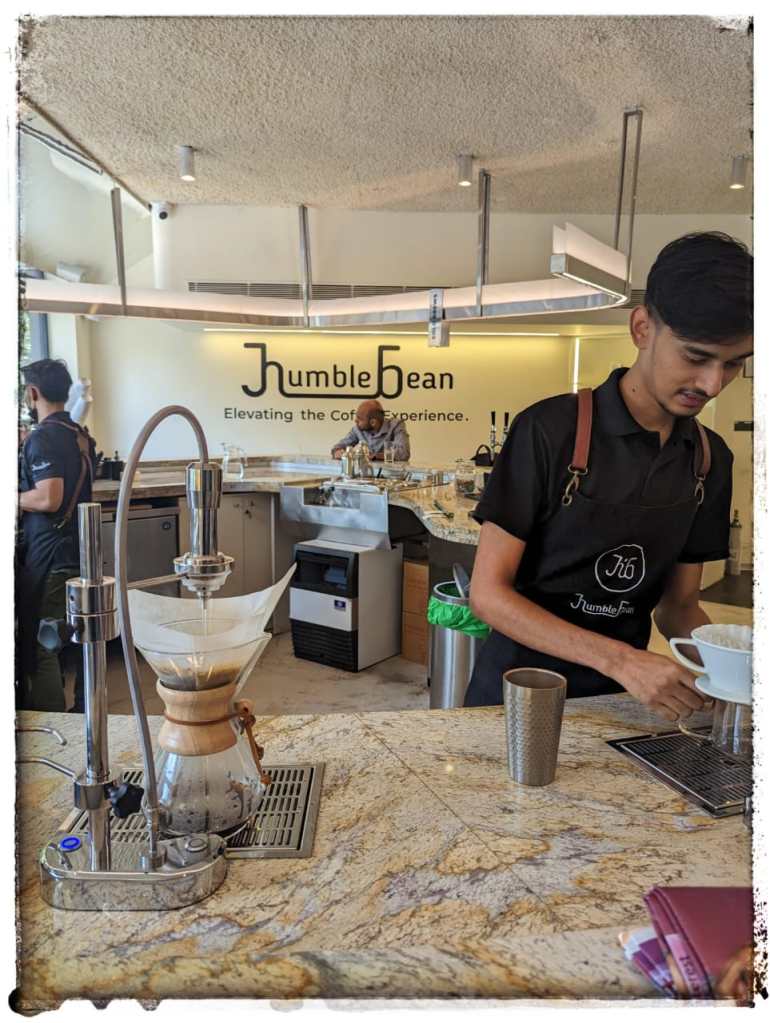
HumbleBean Coffee
Mannheim Coffee

Goldensmile Coffeebar
Nerlu Cafe
- My memories. I had visited their Crescent Rd cafe near Race Course, on a Sunday afternoon with family and friends. The ambience is pretty amazing and modern. Loved the coffee over there. There’s a coffee tasting menu, a great option for the coffee geeks and lovers. Got to taste 3 pour overs. Also, I sneaked in a delicious espresso before it all.
- About them. They are a Multi-roaster cafe, showcasing coffees from across India. They are in two locations Crescent Rd & Indiranagar.

Third Wave Coffee Roasters
Blue Tokai Coffee Roasters
The Daily Bean
The Roastery
(Yet) To Go
Harmakki Coffee Company
Coffee Metanoia
The Caffeine Baar Cafe & Roastery
Special(ty) Mentions
Black Baza Coffee Co.
Naivo Cafe
Something’s Brewing
Benki Brewing Tools / Benki Coffee
Hope you found something new. If I missed anything, let me know.
If you liked what I write you might want to follow my journey on Instagram @journal_of_a_coffee_enthusiast.
-
The Legendary Moka Express; How to brew an Espresso-like shot

In 2016, my wife and I went on a trip across Europe, where I was stunned by the coffee in Italy. On the way back, we picked up a cute little brewer – Moka Express by Bialetti a.k.a. Moka Pot; and some coffee by Illy – a popular Italian coffee company dates back to the same year as the Moka Pot, 1933. Little did I know that we picked up something legendary. Moka pot is as Italian as it gets for a home brewer. Apparently 90% of Italian homes had a Bialetti moka pot in 2010. We barely knew how to use it, yet we brewed with it a lot!
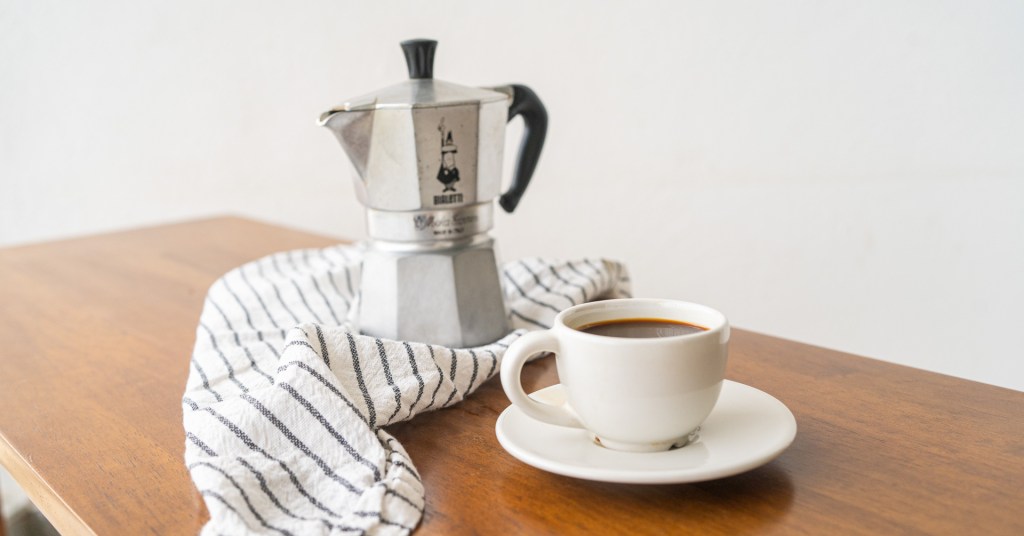
The Moka Express a.k.a Moka Pot; Photo – MemoriesByMegha Why do I love Moka Pot?
It’s complicated. 7 years into the relationship, you usually don’t have one single reason. To begin with, it was love at first sight as well as the first love, the first coffee brewer we had. I adore its design – simple yet iconic. It’s brew process – complex (easy to mess up) but satisfying. Lastly, the power to brew an espresso like shot as a base to prepare cappuccino to affogato to just savouring neat.
The Equipment
What is the Moka Pot ?
- The Original. The closest to the original is the model Moka Express, by Bialetti.
- The Pitch. As per Bialetti, “Moka Express is the original coffee maker, a symbol of Made in Italy quality, which offers the experience of the true Italian ritual of preparing a delicious cup of coffee.”
- The Genesis. Alfonso Bialetti, aluminium product manufacturer, made the moka pot coffee maker inspired by a laundry equipment – “the lisciveuse” – a container with a central steel tube that is filled with clothes and placed over the fire. Once the water started boiling, it went up through the tube, distributing the soap evenly. The shape was inspired by his wife’s silhouette: the head, the broad shoulders, the narrow waist, the arm on the hip and a pleated skirt. It was named after city of Mokha in Yemen, then famous for a wildly popular coffee.
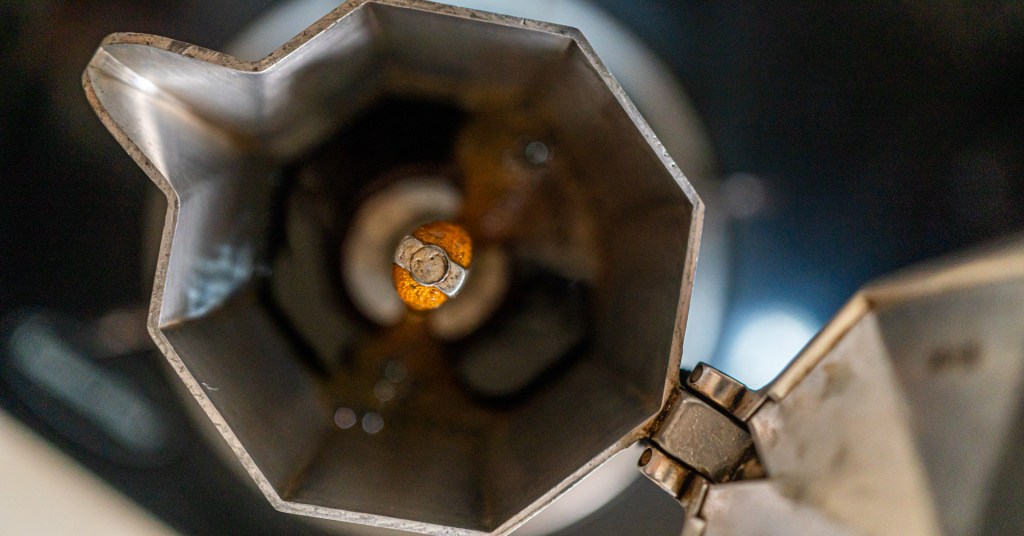
- The Equipment. The Moka Express, originally made with Aluminium, has 3 parts – a bottom chamber (boiler), a basket in the middle to hold the ground coffee, and a top chamber (coffee collector). It has a handle, a spout and a lid.
- Variants: Bialetti offers variants based on capacity (2 cups to 18 cups), material (aluminium, stainless steel), mechanism (induction, electric), design (brikka, venus). There are other brands with similar brewers.
- The Brew Method. Percolation Brewing. Water from the boiler rises through the coffee to the top chamber.
- The Output. By design the yield ratio (weight of coffee used to weight of extracted liquid) is 1:9-1:10, with a strength between an americano and an espresso. That’s how I started. However, now I prefer to brew a 1:3 ratio extract, closer to a standard 1:2 espresso ratio. While it is slightly weaker, it is close enough to make espresso based drinks like cappuccino, latte et al.
Brewing Guides
What is my style? My favourite is to brew close to espresso style coffee. So, I optimise the extraction for flavours and consistency accordingly. As compared to the traditional method, I stop at a lesser yield but slow down the extraction. For my 3 cup Moka Express model, I aim to get ~50 g coffee in 1.5-2 mins extraction. I studied many recipes, tested and tweaked to come up with what I liked best. Shared links to them later in the article. Here is my recommendation:
- The Roast. Espresso blends, medium-dark roasts. I enjoyed all types of roasts in a moka pot, but I love espresso blends the most.
- The Dose. 16-18 grams of coffee, to fill the basket without overpacking it.
- The Grind. Start with a grind size between espresso fine and pour over range (more towards the later), then see what works for you. I use 13 on Baratza Encore coffee grinder (15 clicks on Timemore Chestnut C2). Too fine causes the pot to splutter during extraction, resulting in bitter coffee. For espresso style, try the finest grind that doesn’t splutter.
- The Water. 100 degree celsius. Starting with boiling water reduces the brew time.
- The Puck. Fill coffee in the basket, tap the basket to pack and level evenly. Remove the extra coffee to keep the surface flat. Remember no tamping, just tapping. Overpacking impedes the smooth extraction.
- The Hack. If you have, fit an Aeropress filter below the metal filter of the top chamber. “What?!” Coincidentally the Aeropress filter exactly fits the underside of the metal filter of the 3 cup model of bialetti moka express. It keeps the cup of coffee clean, filtering out fine grounds that pass through the metal filter.
- The Process.
- Fill boiling water in the bottom chamber below the safety valve level.
- Slide in the prepped coffee basket. Ensure no coffee grounds on the screw threads of the moka pot, as it can cause improper sealing.
- Carefully screw the top chamber on the bottom chamber. Remember the bottom chamber is already very hot. Use a cloth to hold it. Ensure it is tightened well, else it can leak and impact the steam pressure.
- Put the moka pot on top of the gas stove, using a heating plate or support as needed, and keeping the safety valve in a direction away from you.
- Start with a low flame. Keep the lid open to monitor the extraction.
- The moment coffee starts oozing out, move the pot away from heat. The coffee should pour smoothly into the top chamber. Enjoy the soothing view.
- When the extraction almost stops, add a tiniest bit of heat to start further extraction. I do it by holding the moka pot 12-15 inches above the flame. This restarts the flow. Maintain a continuous super slow flow to control the extraction time. I aim for a 90-120s overall extraction time for the best flavours. Lesser time (faster flow) can result in a sour cup.
- The visual cue to my target yield is coffee level till the bottom corner of the pouring spout for my Moka Express. Close the lid and pour out immediately. The coffee keeps extracting due to residual heat, but at this stage it will dilute without adding desired flavour.
- I keep my cup on a weighing scale to measure the pour; usually 40-50 g of coffee. Since it keeps getting extracted in the moka pot, in case I’m falling short by 5-10 g, I pour again to hit the target.
- The Yield. ~50 grams as yield i.e. weight of extracted coffee; at 1:3 yield ratio.
- About espresso ratios, the standard espresso yield ratio is typically 1:1.15 to 1:2.5, which is the ratio of weight of ground coffee to weight of extracted liquid. Lungo (Italian for “long,”) with a yield of 1:2.5 to 1:4+; is a long-shot espresso. Here is a link to geek out on ratios.
- From a Moka Pot, I prefer the 1:3 Lungo shot for the perfect balance of flavours and consistency.
- The Coffee. I get roughly ~50 ml of coffee without any crema, a bit dilute as compared to an espresso, yet a decent and convenient replacement to enjoy the bold flavours.
Note that all the specific measurements in the recipe above are for brewing in a Bialetti Moka Express 3 Cup coffee maker. Many parameters are likely to be different for everyone. I would recommend tweaking as needed.
What can you do with a moka shot
- I usually drink straight. Enjoy!
- Just like espresso it can be used to make other Espresso Based drinks – Americano, Cappuccino, Latte, Cortado, Machiato. I prefer to use espresso blends for the milk based recipes.
- Oh yes, do make Affogatos. Get a scoop or two of the best vanilla ice-cream you can get your hands on (I like Baskin-Robbins), and pour a shot of moka on top of it. Here is what I did.
Here are some of the guides I tested and learned from:
- The Inventor. Standard method as suggested by Bialetti is very basic, I would recommend moving over from this very soon.
- The Expert. Coffee expert James Hoffman’s Ultimate method is great. It improves the result manyfold, and explains it very well. But I don’t consider it as ultimate.
- The Magician. Thomas Green’s Moka Pot Voodoo Recipe is the next level. He brews & explains moka pot like an espresso – prepping the puck to varying grind size and extraction time for the best shot of coffee.
If you liked what I write you might want to follow my journey on Instagram @journal_of_a_coffee_enthusiast.
A smooth flow after all the prep makes me happy inside. Photo – MemoriesByMegha -
Roasters I get coffee from and some comparison – 2022

In this article I am sharing how I learned about specialty coffee from India, the roasters I buy coffee from and a comparison of their offerings.
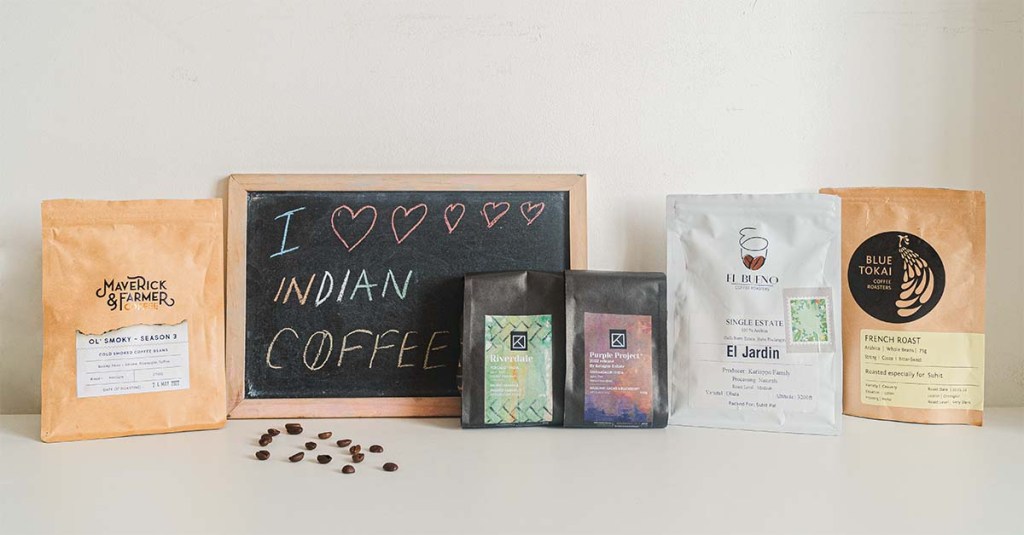
I love Indian coffee and proud of it; Photo – MemoriesByMegha Ignorance
Till 2017, I had no clue that India produces high quality (specialty) coffee. Going to Starbucks in India and coffee shops abroad, and consuming international information on coffee, I always thought coffee from Africa (Kenya, Tanzania, Ethiopia), South America (Columbia, Guatemala) and some countries like Indonesia, Hawai are the only countries that produces good quality coffee.
Must. Find. International. Coffee
In 2016, my specialty coffee journey began with a trip to Europe. In Italy, I had enjoyed multiple espresso shots and purchased Illy coffee (and Bialetti moka pot), and was amazed by the taste and flavors. Italians knew their coffee. After coming back home, we* ran out of that coffee. We also ran out of Java coffee gifted to us by our friends. Then we ran out of the Java coffee our friends had kept for themselves, but later passed it on to us (:P). Then we ran out of the booster stocks of Illy we got from our travels and others’.
*my wife is a coffee lover as well
Enlightenment
By early 2018, we had two lonely brewers and two eager coffee lovers at home, living a life without coffee. Then finally, we looked up online to find coffee in India.
Thanks to Blue Tokai, Koinonia (now KC Roasters) and Flying squirrel coffee, we were not only able to find good quality coffee in India, but also learned that India has amazing coffee. Much of that high quality coffee gets exported, which reminded me of alphonso mangoes and brain drain.
Given we have quality specialty coffee and a plethora of variety in India, I mostly buy local now. More sustainable, for my planet and for my wallet. When I travel international, I do buy roasted coffee beans from that region.
Great Indian Coffee Roasters (and Farmers)
There are many coffee roasters in India who have a curated collection of single origin arabica specialty coffee and blends. They all work closely with the coffee estates / farmers from various parts of India. Some of them own the lands and grow the coffee themselves (Maverick & Farmer). Some work closely with small farmers to support them with global best practices and support them with a more than fair price (Black Baza, Araku).
They roast, from light to ultra dark roasts, to bring out the best in each bean and to meet the needs of different types of brewing and coffee recipes; and ship freshly roasted coffee across India. Options are available to buy whole beans or grounds of a particular size to suit the brewing equipment at home. There are organic coffee options available as well. You can find innovative and experimental coffee roasts – World’s first cold smoked coffee (Ol’ Smoky @ Maverick and Farmer); to wine inspired carbonic maceration fermentation application to coffee (Tat Tvam Asi organic @ KC Roasters), Wine barrel aged coffee (Sula Barrel Aged Blend @ Blue Tokai) and so on.
Many offer the option to subscribe coffee at a discounted price (upto 20%).
My go to Coffee Roasters
I have ordered from many roasters, and always had a great experience. I have captured some of the key information from each roaster I have ordered from.
Roaster & websites Coffee variety Sampler option Price range (INR) Shipping fee Intro offers Subscription option Other Products BlueTokai Coffee 15+ Yes, 3 of your choice 440-580 / 250 g Free 15% off 10% to 20% discount for 3 to 24 deliveries Cold brew cans & bags, Easy pour*, Coffee capsules, Equipments** ThirdWave Coffee 10+ No 430-450 / 250g Free 12.5% to 20% discount for 3 to 12 deliveries Easy pour, Cold brew bags BlackBaza Coffee 9 Yes, 1 set of 7 320-360 / 250g 60 INR / order ~17%-23% discount for 6 to 24 deliveries Equipments, Coffee flour Araku Coffee 5 No 490 – 850 / 250 g Free No Easy pour, Equipments (signature) FlyingSquirrel Coffee 10 Yes, 2 sets – 6 & 7 360-680/250g Free 12.5% discount 3-12 months Equipments KC Roasters 15 Yes, 3 sets of 3 690-980 / 340g Free 15%-20% off, 4-12 deliveries Equipments, Coffee protein bars Maverick and Farmer 15 Yes, 1 set of 5 360-680/250g Free 6% discount for 3 month Brew bags, Equipments Roastery Coffee 9 No 425-500 / 250 g Free 10% off No Easy pour, Equipments, Chocolates El Bueno Coffee 9 No 450-550 / 250 g Free No Coffee tonics, Easy pour, Equipments Note: The information is as of June’22.
*Easy Pours – Also know as Easy Coffe bags, Brew Bags, Insta Pour, Pocket Brew, Brewin’-a-cup, etc. It is a single portion of pre-ground and sealed coffee, ready to bed brewed in a cup using a pour over method. Super convenient if time is a constraint or if you are traveling. **Equipments – Many of the roasters ship brewing equipments, accessories, drink ware, and ancillary equipments/tools (e.g grinders, scales, etc.).There are many other coffee roasters in India apart from the ones I listed above. I plan to explore more, and keep adding more information.
Apart from roasters, I have also bought coffee from:
- Marketplaces – Sixteen Grams (not anymore), Amazon, Somethings Brewing.
- Cafes – Many cafes have their own freshly roasted coffee for sale. I ask when I like something.
- Coffee Estates – In our stays and visits to coffee estates we have often asked if we could buy their coffee. That’s how I discovered Halli Berri.
Hope you find something new or interesting.
If you liked what I write you might want to follow my journey on Instagram @journal_of_a_coffee_enthusiast.
Below is a link to more latest article.
-
Coffee Brewing at Home 101

My 5+ years journey of brewing coffee at home, included a lot of experiments, mistakes, accidents, learnings, and lots of (mostly) amazing coffee. I wanted to jot down the list of basic learning that I would have liked to know at the very beginning, so that I can share it with anyone who is interested. Here goes the list:
Get good coffee. India grows amazing coffee that is exported and known around the world. Super proud of our coffee. All passionate roasters source quality coffee and ship freshly roasted coffee that reaches in 4-5 days. They offer to ship whole beans or ground coffee as per required sizes. Best to have whole beans and grind before the brew, but to begin with ground coffee is just fine, just know the grind size for the coffee maker equipment. Options to buy coffee from –
- Roasters – Blue Tokai, Third Wave, Maverick and Farmer, Araku, KC Roasters, Black Baza etc.
- Marketplaces – Sixteen Grams, Amazon, Cred coffee store, etc.
- Cafes – Many cafes by the roasters have their own freshly roasted coffee for sale. I ask when I like something.
Refer to my article on Indian Coffee Roasters where I have compared my usual coffee roasters and a few key parameters about their offerings that can help you explore or decide.
I get freshly roasted coffee beans from the roasters; Photo – MemoriesByMegha Use soft water. Water is a key ingredient of coffee. Hard water, or poor quality water can spoil the flavor of the coffee. Use RO or filter water, avoid the tap water.
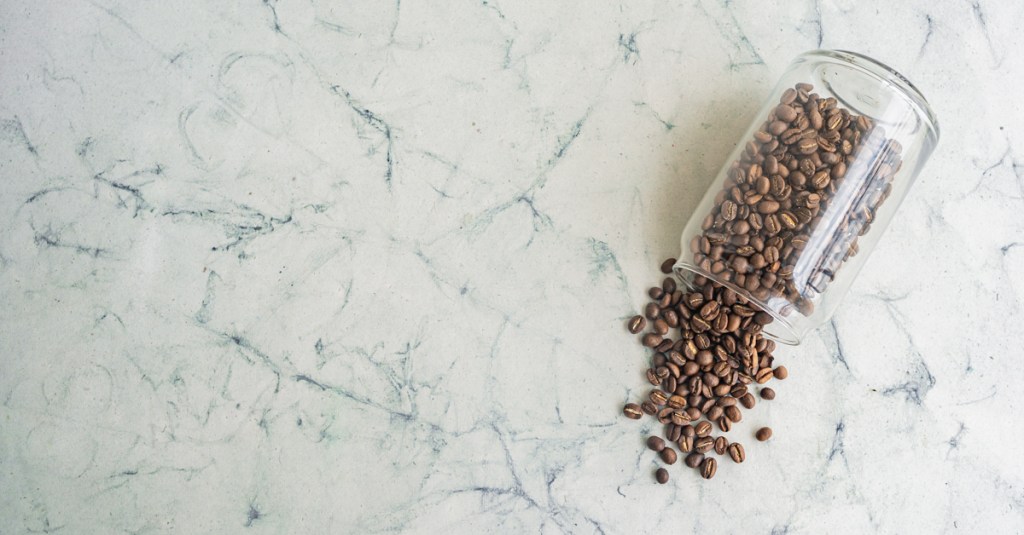
Grind fresh before brewing. Ground coffee deteriorates over time, due to oxidation it loses aroma and flavors. As per experts, the first 1-2 days have the best taste and aroma. I didn’t start with grinding fresh. I used to directly purchase ground coffee from the roasters. Later I purchased a hand grinder and then much later an electric grinder. It is an experience on its own to smell the freshly ground coffee.
Use the right equipment & technique.
- The Equipment / Coffee maker – There are many coffee makers to brew fresh coffee. Start anywhere but use the right technique. I started with a moka pot, but recommend starting with either (1) French press – cheapest and simple, yet produces a good cup or (2) AeroPress – simple and clean cup of coffee. You can begin with strainer as well! You can try out different types of brew at a cafe before purchasing the one you like.
- The Technique – Each equipment has an associated method of brewing. Refer to many guides available online. I have jotted my preferred methods for AeroPress and French Press.
Measure coffee, water and time. To brew a consistent good cup of coffee or to experiment & improve our brew, it is important to measure the ingredients and time. For coffee, the best measure is weight, not volume. I started with volume (tablespoons), assuming 1 tablespoon = 5 grams of coffee. Now I use a basic kitchen weighing machine. This is not as accurate as Hario et al, but does the job at my level of perception, at a fraction of cost. Likewise measure the amount of water used. All good recipes / brew guides will have these measures recommended. To measure time, I either use a mobile or ask Alexa (hoping she gets it in the first go).
Wait for it to cool down. Many places serve really hot coffee. However, it is neither safe nor enjoyable to drink that hot. In fact flavors are better enjoyed at 50-75 degree celsius. It is a bit subjective.
Explore. Remember, there is no one single best coffee out there. Explore to find what you like the most. You can order assorted sampler packs from roasters, to try multiple coffees to find your type. I had ordered sample packs from Blue Tokai and Flying Squirrel (Maverick and Farmer). Try multiple brewing techniques and coffee of various origins & roasts at cafes. This is how I found out about pour over and aeropress methods and many types of coffee. Try black, try espresso, try with milk, try with and without sugar, try with ice cream!!
Hope these tips will be useful, like it was to me.
If you liked what I write you might want to follow my journey on Instagram @journal_of_a_coffee_enthusiast.
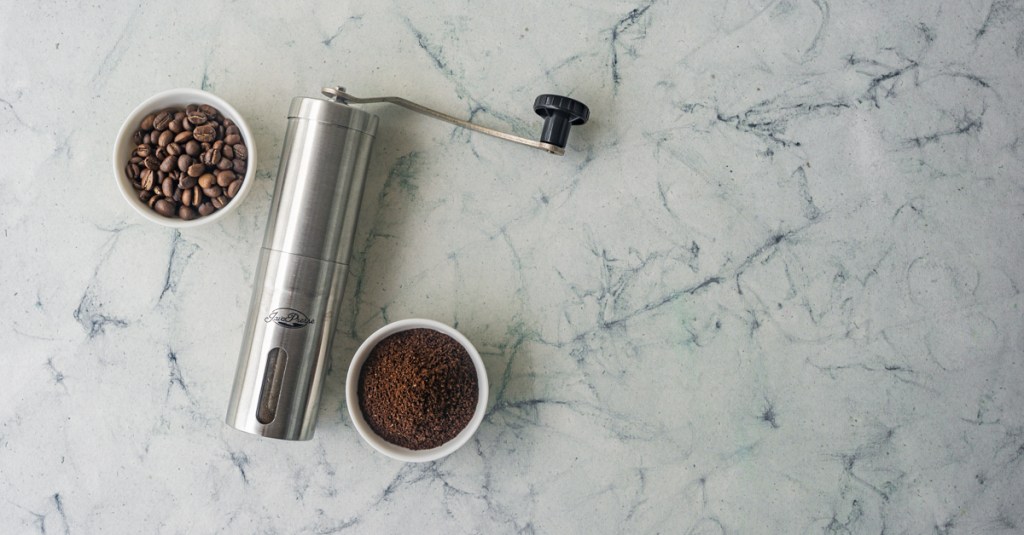
Now I like to grind fresh just before brewing; Photo – MemoriesByMegha -
Why AeroPress is my favorite coffee maker; Interesting facts & resources

If I were to get only one coffee brewing equipment, it would be AeroPress. Among many other brewing equipment, it provides the most versatile, delicious, clean cup of coffee. We use it at home on a daily basis, usually twice a day.
The AeroPress; Photo – MemoriesByMegha After traditional Italian moka pot and quite common french press, I was looking for some variety in coffee brewing. I had a few pour overs and AeroPress cups at cafes, and I started loving the clean cup of coffee produced by these filtered methods. I went for AeroPress because of the easier bearing technique vs. Hario V60 pour over.
The Equipment
What is AeroPress?
- The Pitch. As per the brand, “AeroPress is a simple, easy-to-use coffee maker that consistently brews better tasting coffee and espresso drinks. It’s an espresso maker, a drip coffee maker and a French press, all rolled into one!”
- The Genesis. AeroPress was invented by Alan Adler who was unhappy with the quality of coffee out of the existing brewers and wanted something which allowed to tweak parameters to his needs. Alan Adler began studying the brewing process with a simple goal in mind: brew a superior cup of coffee. After many iterations (35 prototypes) he came up with the current form of AeroPress.
- The Equipment. AeroPress.
- The Feats. Born in 2005, it is one of the two 21st century coffee brewing method (apart from Hario v60) that has become mainstream, sitting next to traditional techniques – espresso (1900), french press (1929), moka pot (1933), electric drip coffee (1972). AeroPress has its own World Aeropress Championship that now observes 3,000+ competitors, spans 120 regional and national events taking place in over 60 countries.
- The Variants. After the success of AeroPress, the brand launched a more compact model called AeroPress Go, now XL and more.
- The Brew Method. Mix of immersion brewing and percolation brewing; call it a mix of french press and pour over.
- The Output. Delicious clean cup of coffee.
Why do I love AeroPress?
Besides the lovely coffee, there are many reasons why AeroPress is my favorite brewing equipment. Along with them I have added notes on some practices I follow.
- Easy brew. The method is super easy, unless you go to the next level trying an inverted method. With AeroPress, it’s easy to consistently brew your favorite cup every time.
- Short time. ~ 5 min. If you have your coffee grind and boiled water ready, you can make a cup of coffee in 1-3 minutes depending on whether you are following Alan Adler or James Hoffman.
- Easy cleaning. Hardly takes a minute. Super easy to clean and keep it ready for the next cup. Generally I pump out the coffee grounds directly into the bin, rinse it immediately with water and let it dry. I clean with soap after every 6-8 brews to get rid of the coffee oils.
- Durable. We have broken multiple glass utensils in our house including 3 coffee carafes. Due to its plastic body, AeroPress is quite durable.
- Portable. Due to the durability along with lightweight and compact design, it is easy to carry for travel and also to store at home.
- Variable Volume. 1-4 cups (as per brand recommendation). Moka pot, minipresso and espresso machines have a fixed quantity that can be brewed every time. I like the flexibility in AeroPress, where I can vary based on the number of people wanting coffee at a time. I have made 1-4 cups of coffee in one brew. However, I prefer not to brew more than 3 at a go. With coffee grounds worth 4 cups, I feel there is little space left for water, the extraction reduces as the grounds do not get adequate contact with water. Instead, I prefer to do two rounds, as it is super easy to brew another one in 5 mins.
- Variable Strength. You can make stronger brews by brewing with less water, and then choose to dilute with hot water or add milk.
- Reusable Filters. The filter paper can be reused multiple times. I typically re-use it 3-5 times when it becomes much darker. Alan apparently used one up to 80 times!
- Technique Variety. Immense variety of brews can be made, let me cover them in the next section.
Brewing Guides
There are multiple variables that can be changed to brew differently with this equipment. Let me share a few important links that can be a good starting point.
- The Inventor. Standard method as suggested by inventor Alan Adler’s.
- The Expert. Coffee expert James Hoffman’s Ultimate method.
- The Champions. Brew recipes from World AeroPress Champions across the years.
- The Randomness. James Hoffman invented a set of dice to experiment given there are so many ways to brew in an AeroPress, which creates a randomized combination of parameters that can be used to brew. While the official dice have been out of stock for a long while now, there are apps (android, iOS) and websites that serve the same purpose.
What is my style? I follow my coffee guru James Hoffman’s technique.
- The Roast. Medium to Medium-Dark Blends in this brew method.
- The Dose. 9 grams of coffee.
- The Grind. Slightly coarser than espresso. Size 13 on Baratza Encore coffee grinder, 15 clicks on Timemore Chestnut C2 manual grinder.
- The Ratio. 150 grams of water for 9 grams of coffee.
- The Water. 90-95 degrees celsius for medium roast. Boil water in an electric kettle and leave the lid open for 30-60 sec.
- The Process. Add 9 grams of grounded coffee to the cylinder. Add 75 grams of water. Close with the plunger in place to create a vacuum, which holds the liquid from dripping further. Let it stay for 2 mins and give it a swirl. Let it stay for 30 sec and start plunging slowly. Once all the liquid is out, I add 75 grams of hot water to dilute it to make it an americano style black coffee. I like to have it black without without milk or sugar.
- The Plunge. Note that you need to press the plunger gently keeping your body away from it. So, if it gets hard to plunge, give it a break, and start gentler after a few seconds. Pressing harder deteriorates the coffee taste.
- The Iced Coffee. In this hot Indian Summer, often my wife and I prefer a refreshing cup of iced coffee rather than a hot one. Instead of a cold brew that needs to happen overnight, I hack it with AeroPress by simply adding ice (75 grams as per above recipe) instead of hot water to dilute the initial extract.
With the long list of pros, especially the convenience to brew a delicious cup of coffee even on a fast paced day, is the reason why I love AeroPress the most.
A few interesting links:
- Ask Alan. You can ask the inventor questions and read up questions answered so far.
- James Hoffman’s 5 part video series on AeroPress. It’s informative and super entertaining to watch.
If you liked what I write you might want to follow my journey on Instagram @journal_of_a_coffee_enthusiast.

Iced Coffee in Indian Summer, made with AeroPress. Photo – MemoriesByMegha -
My Minipresso coffee brewing guide

If you like brewing coffee and are looking for some variety, you might be interested to know about Wacaco Minipresso. This article is about my journey with minipresso – what it is and how I like to brew my favorite cup of coffee with it.
The Wacaco Minipresso; Photo – MemoriesByMegha My few initial cups of coffee out of this hand operated compact machine (minipresso) were not good, but I kept iterating to hit the sweet spot for my liking. I wanted to record the process for myself and share it with other enthusiasts.
First of all…
The Equipment
What is minipresso?
- The Pitch. As per Wacaco, the manufacturer brand, “Minipresso is the first piston-driven handheld espresso machine ever produced. A very unique coffee maker, fun and easy to use that makes great espresso anytime, anywhere.”
- The Genesis. Minipresso was invented by Hugo Cailleton who was unhappy with the quality of coffee during his travels.
- The Equipment. Wacaco Minipresso GR. The GR version is for the model that uses ground coffee.
- The Variants. Minipresso also has an NS version that uses Nespresso capsules. After the success of minipresso, Wacaco launched even smaller models called Nanopresso and Picopresso .
- The Brew Method. Like espresso this technique extracts coffee by passing pressurized hot water through coffee grinds. In this case the pressure is created by manual piston based pumping.
- The Output. Delicious shot of coffee, with crema! Must highlight, it is not as strong as standard espresso.
I received this strange device as a gift from my sister in law. Thank you Binny!!
While I am yet to use it during travel I find it super convenient to make a shot of coffee without needing a full size espresso machine. Once done, it is easy to quickly clean and stow away conveniently due to its compact size.Note that not everyone will like this coffee. Coffee expert, World Barista Champion and my coffee guru – James Hoffman, holds a low opinion about this. But there are many, who will stand by the taste and talk highly about the convenience, including me.
My Style of Brewing
Now let me share how I prepare my favorite cup of minipresso. I am literally using an excel sheet and some A:B testing to come up with this. My recommendation below:
- The Roast. Medium. I prefer medium roast in this brew method instead of darker roasts. I used and loved Hardoor estate coffee from Blue Tokai.
- The Dose. 8 grams of coffee, same as brand’s recommendation.
- The Grind. Espresso Grind size. I use 8 on Baratza Encore coffee grinder. This grinder helps me get freshly ground coffee in every brew.
- Finer Grind. I tried the grind size 4 on Baratza Encore. Due to the smaller grind size, squeezing was really hard. It took more than a minute to pump out all the liquid. It also resulted in a bitter cup of coffee. Most likely because of over extraction due to the smaller size of coffee and hence a higher surface area for extraction.
- The Water. 100 degree celsius i.e. boiling hot, same as brand recommendation.
- The Prep. Do one pass of hot water only through the system to get a warmer result in the next run.
- The Process. It is a simple, straightforward process. Demonstrated quite well in this video by the brand.
- 8 grams of coffee sits easily in the filter basket, with a light tamping. It’s quite convenient to fill hot water and make the equipment ready for pumping. Pumping is not hard. It takes 20-30 sec to pump out all the liquid.
- The Yield. ~32 grams as yield i.e. weight of extracted coffee). While I fill 60 ml, till the maximum mark, I choose to vary the amount extracted if I want a more concentrated cup or lighter.
- Some background, Espresso yield ratio is typically 1:1.15 to 1:2.5, which is the ratio of weight of coffee grounds to weight of extracted liquid (shot). Whereas Lungo yield is 1:2.5 to 1:4+. Here is a link to geek out on ratios.
- In minipresso, for 8 grams of coffee, squeezing out the whole 60 ml produces roughly 48g of liquid (i.e. 1:6 ratio). I tried other yields as well. Based on A:B testing, I found the 24g yield (1:3 ratio) a bit richer than the 40g yield (1:5 ratio). After 40 g yield the extract is quite diluted.
- The problem with the minipresso is that in case you prefer to have an espresso strength. The quantity per shot is much lesser due to the 8 g filter basket capacity. Espresso yield ratio of 1:2 provides only 16 g (~15 ml) of coffee, which is too little for me to enjoy. To get a ~30 ml shot – either you can prepare another puck and repeat the process to maintain espresso strength, OR go for a lungo strength, extracting 32-40 g of coffee at 1:4 to 1:5. I prefer the second.
- The Coffee. I get roughly 30 ml (~32 gms) of coffee shot with a crema, at 1:4 yield ratio which is technically a Lungo.
All in all, I like the taste of the coffee and enjoy the compact size of the brewer, and I wish it could produce more coffee in one go.
Please let me know if you have a different style or have any tips/hacks to share. I would love to try.
A few key articles that can be useful:
If you liked what I write you might want to follow my journey on Instagram @journal_of_a_coffee_enthusiast.

The coffee from minipresso; Photo – MemoriesByMegha -
French Press – Probably the best way to begin Specialty Coffee Journey; Tips and Tricks

French Press is the simplest and cheapest method to brew delicious specialty coffee at home. I would recommend this as a first equipment to anyone starting their brewing journey.
I got one in 2017 to try out another brewing method besides the Moka pot. I have been using it for the last 5 years, brewing many types of coffee satisfactorily. Broke it twice, bought it thrice! You could almost always find it on our dining table during breakfast and afternoon snack time. Recently, when I broke it the second time the AeroPress had taken over. But now it has come back for its fair share in our lives.
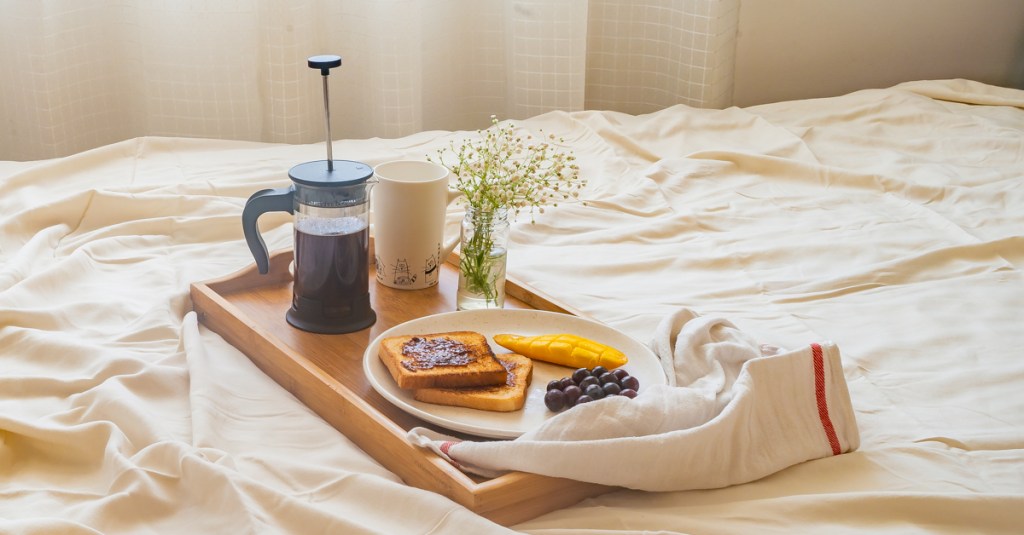
The French Press – our breakfast buddy; Photo – MemoriesByMegha The Equipment
What is a French Press?
- The Genesis. There is a legend from the 1850s about how it accidentally came to being which involved a Frenchman and an Italian (read here), thus debated if it is French or Italian. In 1929, it was patented by an Italian Attilio Calimani. Interestingly, it is known as the French Press in the US and some parts of the world including India. It has many other aliases including cafetière, coffee press and coffee plunger and so on.
- The Equipment. French Press usually has a glass carafe and a metal mesh attached to a metal piston which slides along a lid. Steel variants are also available, for those who are concerned with the durability of glass carafe.
- The Brew Method. Immersion Brewing.
- The Output. Full bodied cup of coffee, with cloudiness (can vary from slight to significant) due to coffee particles not filtered.
Brewing Guides
There is a generic French Press brewing method out there. However, I live by and strongly recommend (urge and plead) the non-traditional tweaks by James Hoffman in his Ultimate Technique.
- The Roast. Medium to Medium-Dark Blends in this brew method. My favorites are Attikan Estate and Kalledevarapura Estate from Blue Tokai; Satva and Parama from Flying Squirrels / Maverick & Farmer.
- The Dose. 9 grams of coffee.
- The Grind. Medium size. Slightly coarser than espresso. Size 13 on Baratza Encore coffee grinder. Typical suggestion is to grind coarse so that the plunger mesh can filter the coffee grinds better during the press, to a bit cleaner cup. But behold. Psst… there is no pressing!! Due to the smaller size there is a better extraction of flavors from the coffee.
- The Ratio. 150 grams of water for 9 grams of coffee.
- The Water. 90-95 degrees celsius. Boil water in an electric kettle and leave the lid open for 30-60 sec. This is for medium roast, increase temperature for light roasts and reduce for dark roasts.
- The Process. Pour hot water into the carafe to rinse it to pre-heat (optional). Add 9 grams of grinds to the french press carafe. Add 150 grams of water at 90-95 degree celsius. Close the lid to stop heat loss. Let it stay for 4 mins for immersion brewing. Use a spoon to give it a swirl while breaking the crust on top of the liquid. Scoop and discard any floating foam and particles.
- The Wait. Let it stay for 6-8 mins. During this time much of the finer coffee particles start to fall down and settle to the bottom. This allows you to get a cleaner cup of coffee, without getting over-extracted / bitter. I have done it over a hundred times, I swear by it. It also allows the coffee to cool down to a comfortable drinking temperature.
- No Press! Whaaat???!!!
- The Pour. After the wait, push the plunger mesh close to the liquid surface, without pressing into it. Pour the coffee out into a cup. The idea is to not disturb the coffee grinds that have already settled to the bottom. Pressing can agitate the particles.
This recipe has made me fall in love with french press even more. It has given me a very clean cup as compared to my previous ‘pressed’ and muddy cup. The technique also allows the use of medium grind size (vs the traditionally recommended coarse grind) enabling better extraction (hence flavors) without worrying about the filtering with mesh.
At breakfast, we typically serve our food and get the french press at the table for the wait time along with our cups. Once the timer is up, we just pour it right in time for coffee and at the right moderate temperature that doesn’t burn the tongue while unlocking the complex flavors of a specialty coffee.
Warning! This technique will spoil your experience of french press coffee at cafes forever. I stoped asking for it, or may be I can ask to hand me over the press at 4 min.
The Cleaning Hack. Cleaning might not be as easy as an AeroPress, but not at all daunting. My hack is to use a tea strainer that is easily available in an Indian kitchen. Take the plunger out, which has minimal coffee sticking to it (due to no pressing) and rinse it under running tap water. Then, fill the carafe containing the spent coffee with running tap water, swirl it and send it through the strainer. Repeat to get all the coffee grounds on the strainer. Bang the strainer into the bin to get rid of the coffee. Done. I soap it after 6-8 uses.
The Bonus Superpowers. The French Press has bonus super powers!
- The Milk Frother. If I am making a cappuccino or latte, I get the strong coffee shot out of a moka pot and use the french press to froth milk. Just add hot milk in french press, pump the piston repeatedly to create frothy milk with microfoam. Pour it on top of the coffee shot to get a smooth and creamy cappuccino. Watch this for reference. If you are trying to create latte art to impress, you need a real milk jug and some real pouring skills. 🙂
- The Tea Brewer. Just like coffee, you can brew from black tea to green tea, from flower tea to fruit tea, in the same way. But don’t dare to do the Desi Chai! That will be a stretch.
If you liked what I write you might want to follow my journey on Instagram @journal_of_a_coffee_enthusiast.
Skip to content

Journal of a Coffee Enthusiast
Join with me in my journey to a world of amazing coffee
